
How to Install Tapcon® Screws
Installation Instructions for the Tapcon Concrete Screw
Installing Tapcon® Concrete Screws can be completed in four easy steps and can be used when working with electrical boxes, wood headers, and exterior insulation systems. Tapcons are best suited for light to medium duty fastening purposes, are available in standard 3/16” and 1/4” diameters, as well as large diameter sizes of 3/8”, 1/2", 5/8” and 3/4” and are offered in a wide variety of materials (including stainless steel) to meet every construction need. After installation, they can be removed and replaced without disturbing the base material. Anchors can be installed close to an edge and are available in two head styles - Hex washer slotted (standard and large diameter sizes) and flat countersunk Phillips (standard sizes only).
Installation Steps:
- Drill a hole in the base material with a hammer drill and a correctly sized carbide drill bit for the diameter concrete screw you are using. The hole should be 1/2” deeper than the screw embedment.
- Clean out the hole of all debris.
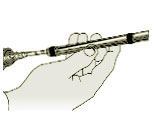
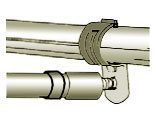
- Insert the pointed end of the Tapcon® concrete screw through the fixture and into the hole in the base material.
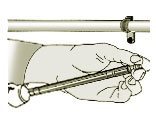
- Drive the screw slowly, allowing the threads to tap into the base material.